Showing posts with label Paint. Show all posts

Saturday, August 4, 2012

Simple DIY Art

Good Grief. Has it really been 2 months since I last blogged? My how time flies.
I have been doing lots of fun projects. I have so much more up my sleeve too. Now if I could just find the time right?!

I needed a soft simple piece of art to go over my jewelry armoire in my bedroom. I didnt want anything harsh or drastic and i needed it to be CHEAP! I went to Big Lots and found a naked canvas for $6.00. Yep that is a great starting point.

I already had some paint. I like that it is silver color to match the bedroom. I had wished it was not quite as metallic maybe just more gray but, the metallic has actually grown on me.

I this super cute stencil for FREE. When i ordered the stencil for my bedroom wall from Royal Stencil company they sent me a little stencil for free with my order. This was the perfect time to get that out and put it to use.
Here she is all done and up close. My mom and husband said i should outline the flowers to make them more prominent but I like the subtleness of it.
So there you have it super duper simple $6.00 wall art! What have you been working on?

I am in the market for a Cameo Silhouette if you know of a great deal going on right now let me know please! Thanks for stopping by!

Cheers!!!
~Julie~

Sunday, April 8, 2012

The House That Creaks # 11 Bedroom Redo!!


ACK!! I am so excited to show of the bedroom redo! I have been working on this for weeks. I started off by adding the bead board wall paper. then painted the bathroom and bedroom. then painted the stencil on one wall. then made the headboard. then put up the chair rail in the bathroom. whew... but the big parts are over and i LOVE it.
for the headboard I started with a piece of plywood for $10.00 ! whoop. OMG i had NO idea plywood was that dang heavy. now my foot knows it too! got two layers of 1/2 batting with coupon for $16.00

Staple gunned the batting and used a canvas drop cloth for the fabric. for $10.00 I wanted a casual fabric that could easily adapt to any decor changes. it was perfect!

Of course, i could not find any old pictures of the bedroom. i think they were all on my old computer. but here is a pic of the old bathroom so you get an idea of the color the bedroom was.


Okay.. my pictures are all out of whack. some just got deleted... UGGG.. so . i am making do with what i can. my computer is super sensitive and it just goes crazy sometimes.. anywhooooo
here is a look from the bathroom into the bedroom. i used two colors of blue from Sherwin Williams. Let me give some props for a minute. the Super paint by Sherwin .. HOLY MOLY yall!
it cover in ONE coat. I painted over a yellowy orange to a light smokey blue in ONE coat. WHAT?? !!!!
I finally got real curtains for the bathroom, If you look again at the old bathroom pic you will see the pink quilt hanging in the window.. that was there for oh.... about a year! LOL
Just take a look at this cottagey goodness will you?! feels like a little cottage near the ocean to me.
Here is a gander in the bedroom of the stenciled wall. someday i will get new furniture. so dont look at that!
Here is a view of the completed bead board. I got all white bedding for Christmas. Super nice set too! Thanks step mom!! :-) I do plan to put a piece of artwork or maybe a framed mirror over the jewelry box there. but not sure exactly what i want yet.

I also plan to get new lamp shades maybe a drum shape. I got some this weekend but they didnt fit.. phooey! Also got curtains for the bedroom. NEVER had curtains in there before. lived here 2 years with no curtains. at least i did have blinds in the window though. teeheee
I spray painted the lamps a sliver to match the bedroom better. I would like to have wall mounted lamps. but making do with what i have for now.

Just making sure you have a view from all angles :-)

so this is it. last pic of the tour. thanks so much for looking. so here is a rundown
headboard:
plywood $10.00 , batting $16.00, drop cloth $10.00, nail head trim kit $20.00 = $56.00!!
oh, we did have to buy a jigsaw to cut the corners in the headboard. so that was around $30.00 so total was $86.00 what??!!! you will pay HUNDREDS for a ready made one. AND not near the satisfaction of doing it yourself.

the stencil is Royal Designs it was $40.00 but i got it as a gift for Christmas :-) thanks MOM!

the paint was $100.00 for both rooms BUT! well worth the money. like i said.. ONE COAT. the bathroom i used SW cashmere.. i did not like it near as much as the Super Paint. Cashmere i had to use two coats. Super paint is the primer and paint in one.

Cheers!
~Julie~

Sunday, January 15, 2012

The House That Creaks #10 Striped Walls

Happy Sunday Evening to you!
I finally completed a project!! It has been probably early December since I have started and completed a house project. So lately I have been seeing striped walls everywhere in blog land.
Thursday afternoon I had an overwhelming urge to paint stripes in my upstairs landing. I had originally wanted to put up bead board however I have bead board in the bathroom and thought that it would be too much in one area then.. BAM! it hit me and I went running. I already had most of the tools on hand so this did not cost much at all. A BIG PLUS!
I forgot to get a before shot but this is pretty much it minus the renovated toy box and the framed wall art I made a little while back.

Yellow is a hard color to cover so I started with 2 coats of a good Primer. Zinzer 123. Used my trusty Purdy angled tip brush and a Purdy roller. (I Heart Purdy)

After gathering all of the supplies the next step is to measure. This is where my hubby came in handy. (Wish I would have given more effort to math in school). He helped me figure out what size stripes I would need to make them as even as possible. I didn't really care how many stripes but new I wanted them fairly large. I did 15 1/2 inch stripes for a total of 6 on a 93 inch wall.

I taped the measuring tape to the wall then made my marks all around the hallway.

I totally need to talk my daughter into taking her posters off her bedroom door. Good luck with that though. She just turned 13 yesterday (Happy bday boo!). I remember when I was 13, I had posters, magazine pages, all kinds of stuff on my walls.

I left the yellow color and just painted a white strip. I still love this orangy yellow color. It is called Spun Gold by Porter Paints.

w
I have to say, I am quite impressed with myself. The lines are super straight and there was almost zero bleeding under the tape. I used FROG tape. Once i had it on the wall I used the back of my finger nail to really get it stuck on there. Worked AWESOME! My finger was a wee bit sore though! HA

Keep scrolling down for picures


That white spot in the upper right is not really there. Not sure why my camera did that.

Posted by Picasa
It is really hard to get a great pic in a super small sort-of circular area. I LOVE how it turned out. Hubs is not a fan but thinks I did a great job on it. It reminds me of summer time. Maybe it is the yellow and white? Thanks for checking out the project!!
Cheers!
~Julie~

Saturday, November 26, 2011

The House That Creaks #9 KITCHEN CABINETS!!

WARNING: LOTS-O-PICS
Hot Dang the cabinets are D.O.N.E.
Wow what a project that turned out to be. I really did enjoy the process, however it took 3 weeks to finish and towards the end I was getting pretty antsy. Working full time and busy weekends doesn't allow much time for this type of project.


I decided to break it down in sections. I have a pretty large kitchen with 26 cabinets and 16 drawers. It is very fortunate to have that many EXCEPT when you are painting them. I had 5 sections and the process was simple but effective: 1. Degrease using mineral spirits 2. Wash with Dawn dish detergent 3. Fill in the extra hole on the handle with wood filler (decided to go with a knob instead of handle) 4. Sand using "liquid sand" (soooo glad I went this way instead of sanding with sandpaper. 5. Prim 6. Paint two coats

The wood filler worked great. I just love that product. The only bad part is having to wait around 8 hours for the filler to harden.

Here is how it looked while priming. Once the paint was on you could not tell one bit that a hole was there once upon a time.

Here is the kitchen I lived in for about a year. I did not move into this. I painted it orange on purpose. I LOVE color. My last house was ALL brown and beige and I was craving some fun VIBRANT colors!

Here is my scrapping/crafting area. It was one thing I was thankful for when we moved in. Last house my craft room was off by itself so I did not have much contact with the family, this way I am still in the middle of everything (my favorite place to be, in the middle). Notice the Island, before I painted it.


Here the door out to the deck is still white and the table is still a honey color wood. It looked horrible against the orange walls.

OH SNAP! check out the scrap area before we moved in. The paint job was hideous and the Formica counter tops were wearing out.

Anyone care to ballroom dance? We were so amazed at the size of the kitchen. Our last house was a super small galley kitchen probably about 6 X 10 feet.

I decided to paint the walls to. I just felt the need to tone down the orange a wee bit. If I'm going to do it, I am going big or going home baby, just couldn't stop at the cabinets, it all needed a make over well okay.. mostly now that the cabinets were a creamy white the orange really clashed with that AND the back splash. I DO plan on a new back splash but. that must remain at the bottom of the to do/wish list for now.

I know I need curtains or roman shades in the window. I will work on that soon enough. That window faces nothing but trees and is two stories up so right now I am not concerned about peeping toms. AH the floor.. YES. one day I do plan on replacing it too. Another reason I had to go beige on the walls. Nothing else seemed to blend very well with the floor and back splash.

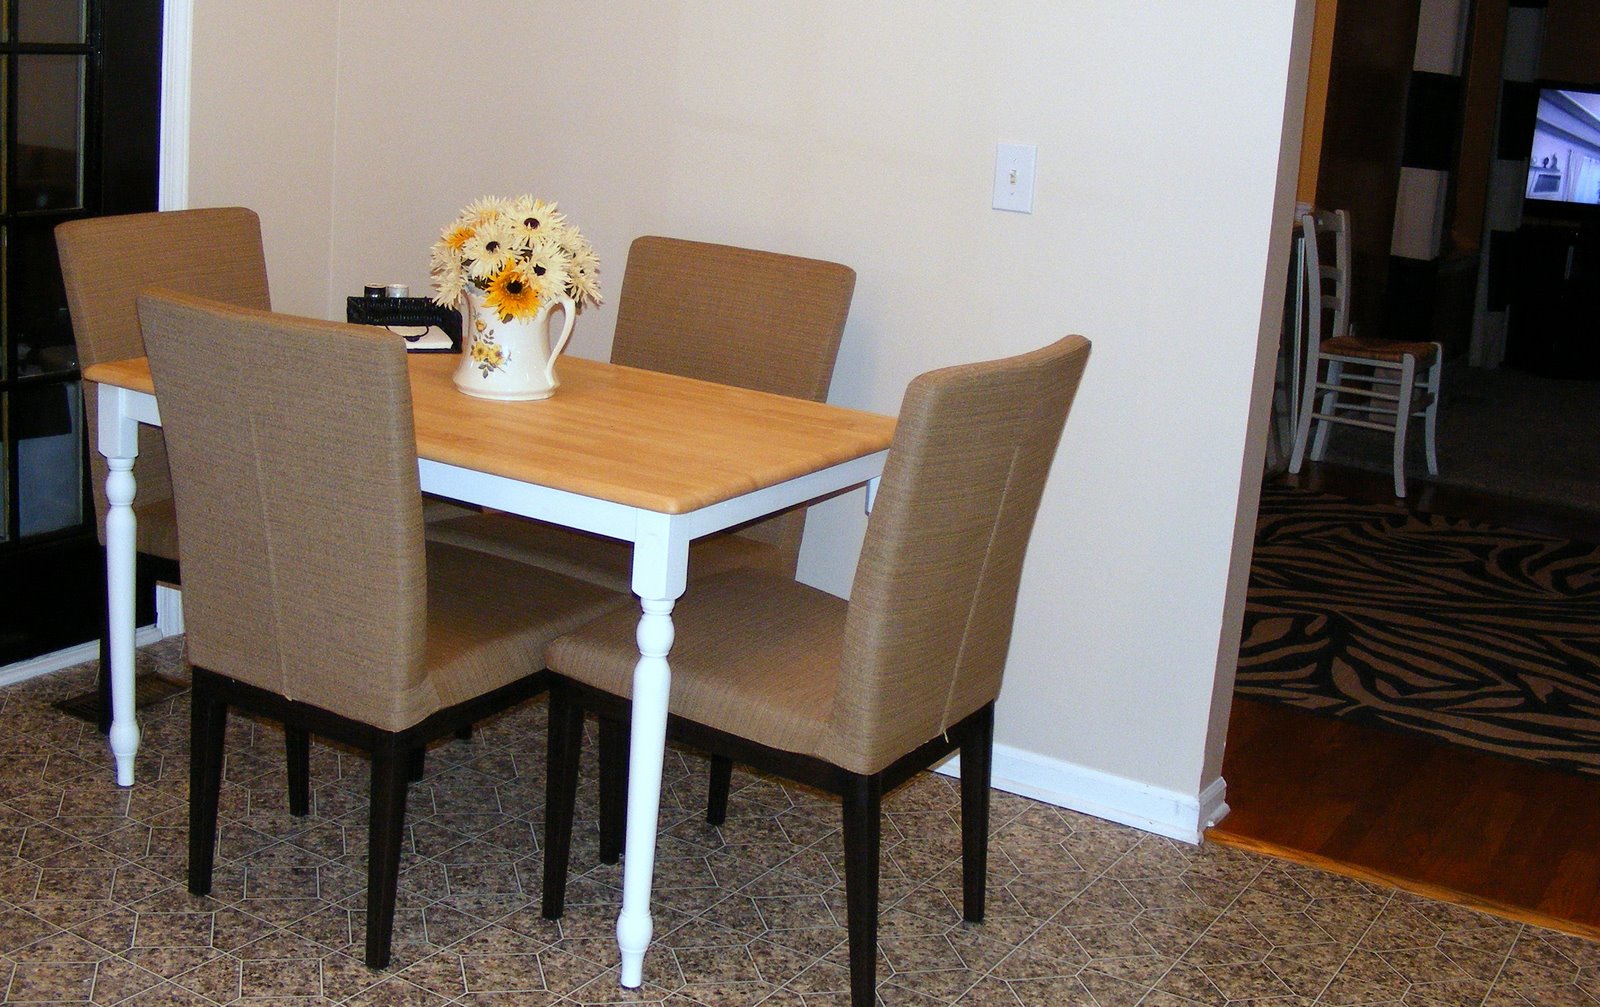
Here is how the table turned out. I planned on staining the top black but my hottie hubs talked me out of it. So we went all natural with just the legs painted.

Here is a glimpse of the door out to the deck painted black.

scrappy area


SWOON!! This pic takes my breath away! seriously! Can you see where the other hole was from the handles before? nope! you cant. I have to tell you the real secret was the paint. Sherwin Williams Waterborne Acrylic Paint. OMG. THE. BEST. PAINT. It is pretty expensive so I would not use it to paint walls but DEFINITELY dressers, desks, cabinets etc. The next most important item to have is a great brush. Purdy is the best in my opinion. The bristles do not come out while your painting. You can wash them over and over and use them for years. Literally. I have!


another scrappy area.. the pics are out of order. I am having difficulty with that!

This was the original chandelier I decided on. Ummmmm.. okay so it did not look like the picture online and the quality was less than satisfactory. you cannot tell from the pic but that thing was HUGE I mean really huge! We got a good laugh and sent it back. I hate sending things back when purchased online. Hubs has banned me from buying things online anymore. LOL lately I have been 0 for 3!

Painting the deck doors

stripping the table.

Posted by Picasa
Here is the chandelier we settled on.
If you are still with me THANKS! I know that was a lot of reading and pics